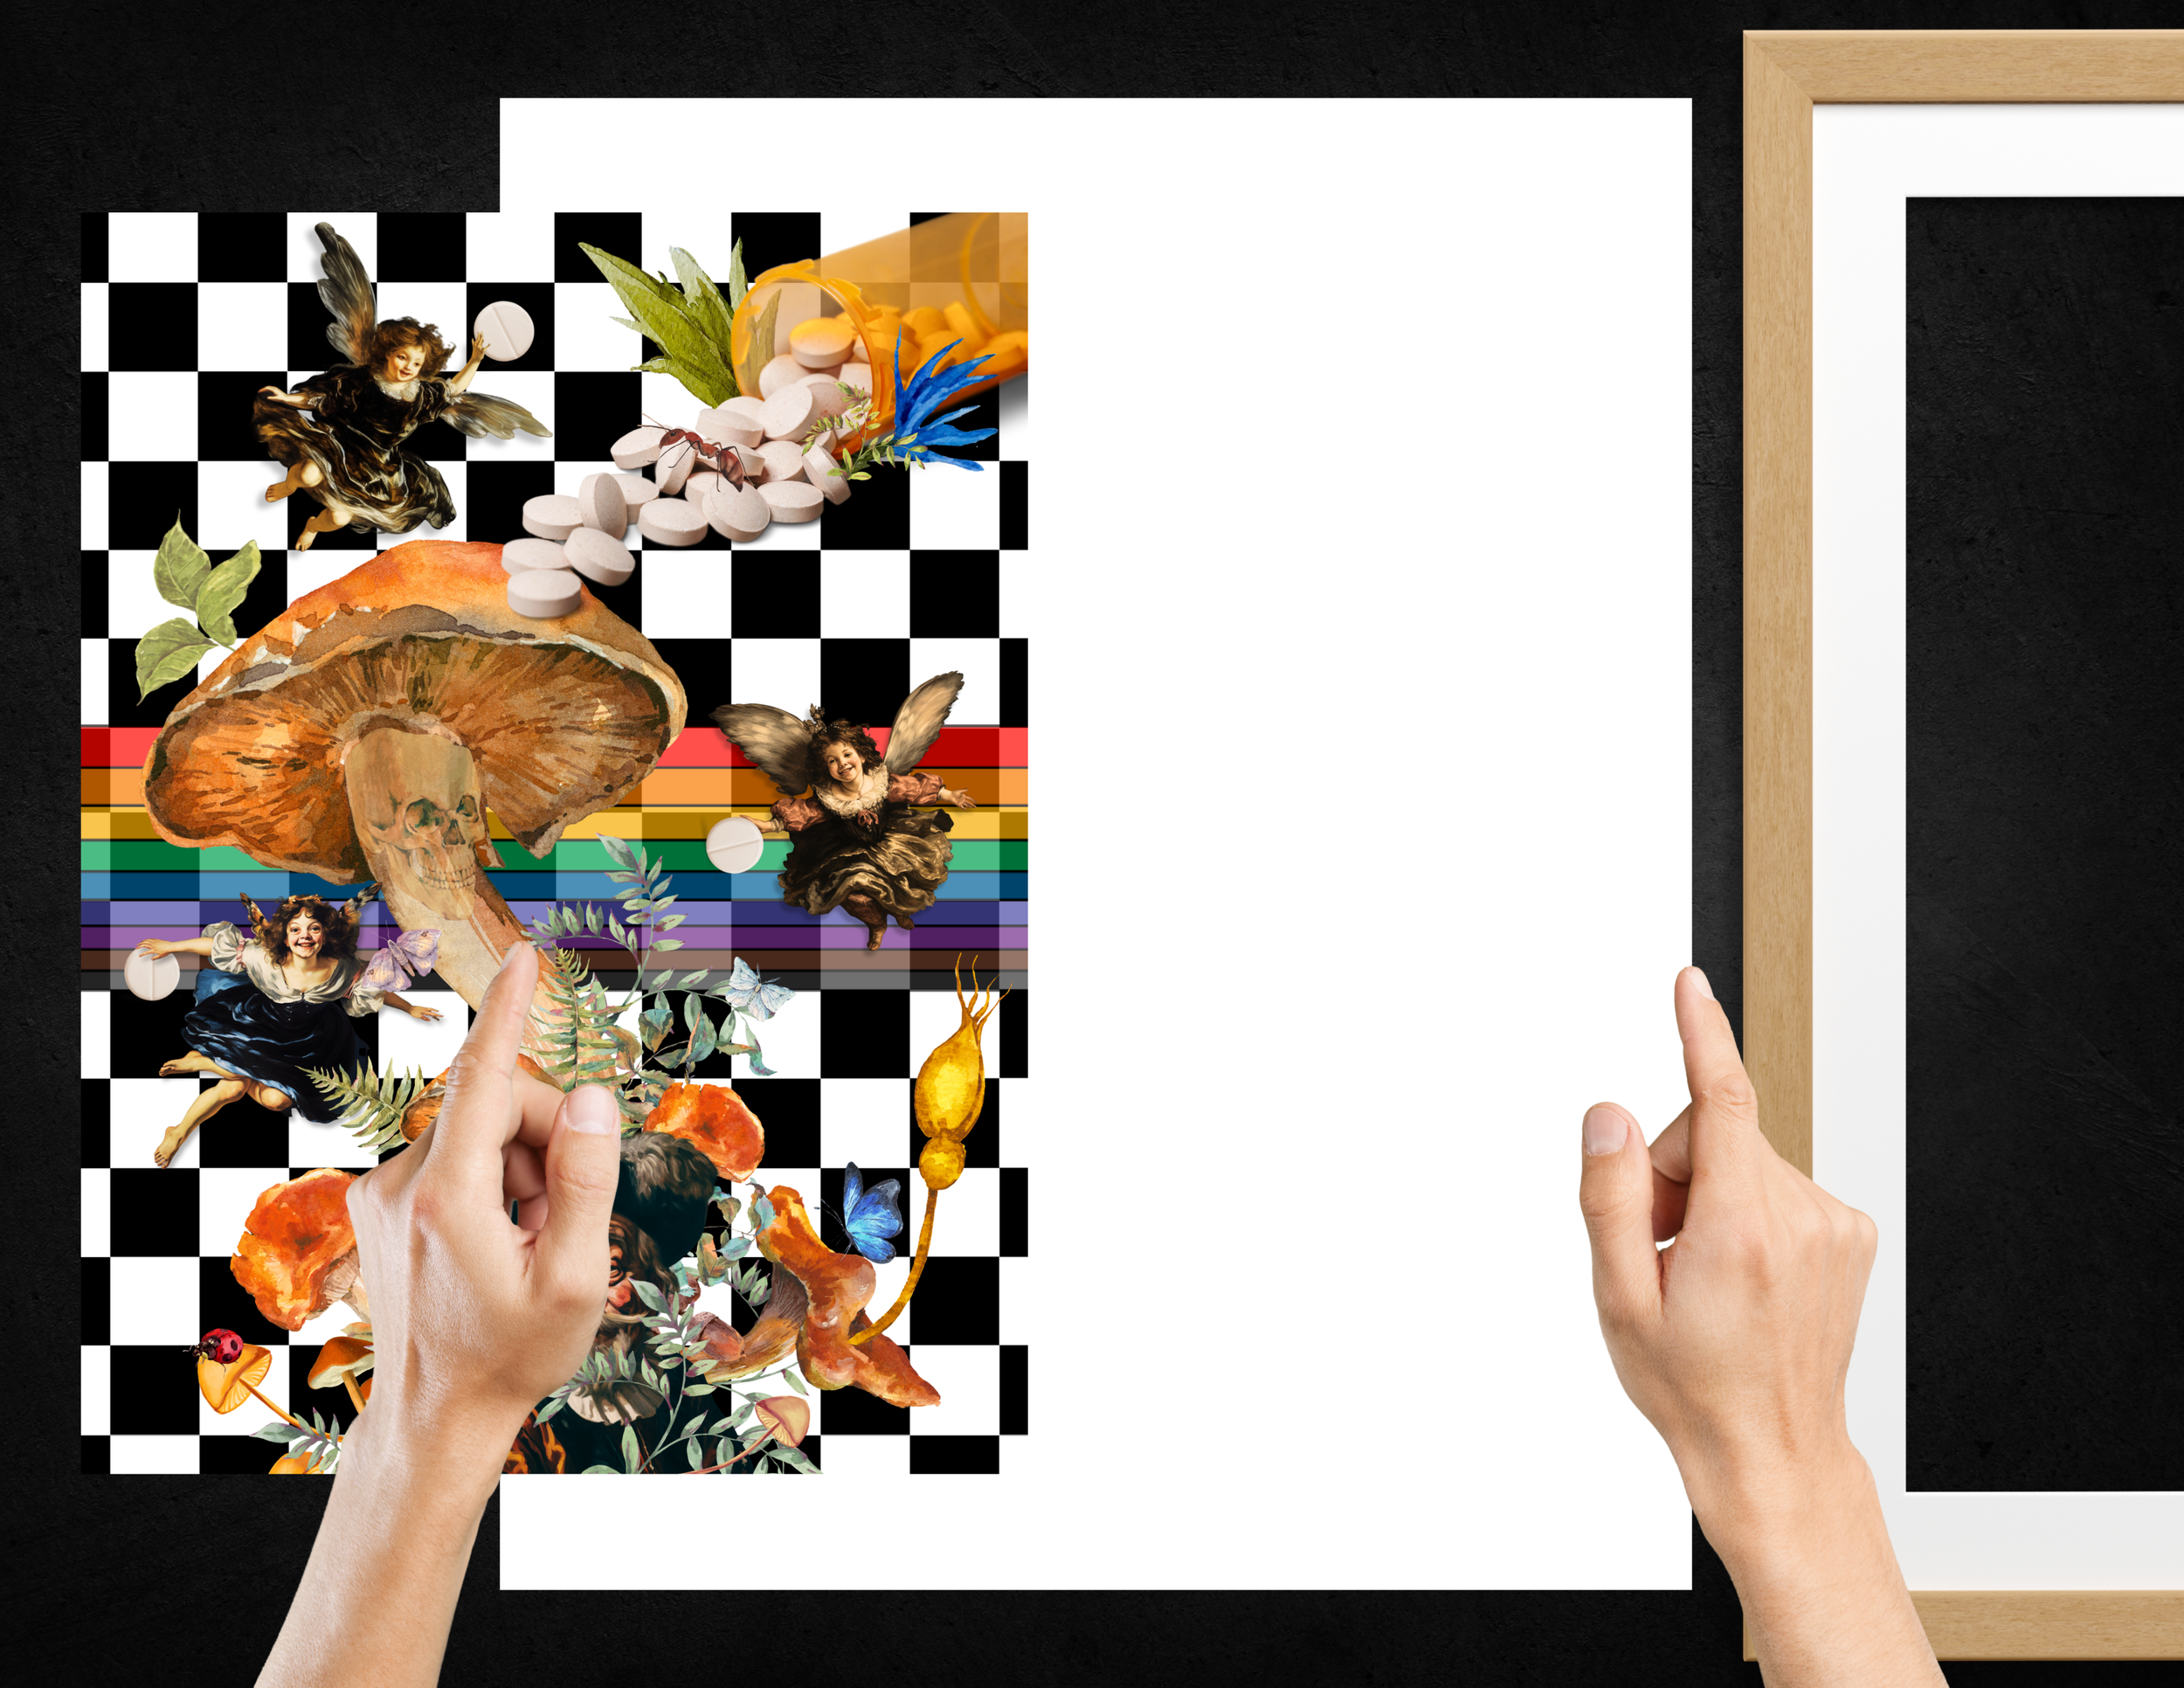
Matting a borderless print is easy.
We opted for edge-to-edge art prints without a white border to give you the most artwork for your money instead of making you pay for a white border that shrinks the size of the actual art. Here’s how to mat your print without the border in 4 easy steps.
HERE’S WHAT YOU WILL NEED
+ Frame
+ Mat
+ Backing
+ Double-sided or Archival Tape (Archival Tape can be removed without damaging your print)
+ A ruler or measuring tape
+ 5 non-sharp objects with some weight
+ Clean workspace
How To Mat a Borderless Print
-

Step 1. A Matt & Backing
You will need a mat and backing.
A mat is a piece that goes on top of the art print to create the border. The backing goes behind the print.
Mats come in a plethora of colors to make your art print stand out.
The width of the border is up to you and your visual preferences. However, it also depends on the size of the print. For a 12x16 print, anything from 2-2.5 inches is the standard for matting.
The mat’s width you add to your art print determines the size of your frame.
We recommend buying mats and backings from Etsy for the best price and choices.
-

Step 2: Preparations
Wash and dry hands to avoid marking the mat or workspace.
Open your new frame.
Carefully remove the mat and backing from the packaging.
Keep the glass of your frame in place; it should not be removed.
Ensure the face of the frame is facing down.
Make sure you have a clean workspace and avoid setting the frame down on something that is fuzzy, such as a blanket.
-

Step 3: Centering
Unroll and position your art print on the backing.
Place 4 non-sharp objects in the 4 corners (don’t put them directly on the corners) and 1 in the center to prevent the work from shifting while taping.
Ensure the object won't scratch your print.
Adjust the print until all sides of the print have an equal distance to the edges of the backing.
Ensure the work is straight by comparing it to the outer edge of the mat.
Rip or cut your tape into two pieces.
Place a strip of tape on each side of the top part of the print.
Apply the tape gently, pressing down lightly at first to check the alignment before securing it firmly.
-

Step 4: Finishing Touches
Ensure satisfaction with the print's alignment under the mat.
Please gently lift the tape to reposition the print if you need any adjustments.
Once satisfied with the alignment, press on the tape firmly yet gently to ensure proper adhesion.
Run your thumb along the tape's length to confirm the strip is securely stuck.
Before inserting the mat, ensure the glass inside the frame is clean. Remove any dust if needed.
Place the mat back into the frame.
Insert the back of the frame and close.